Pages

Friday, May 20, 2011

Fried Green Tomatoes and Homemade Pita Chips

Sometimes a sweet and simple meal is just right for a relaxing day. At the store today I spotted some green tomatoes and realized how long it has been since I'd eaten one...and more importantly how few times in my life I have eaten them altogether. You see, although I've lived in the south all my life, my family is yankee through and through. I grew up on corn meal mush and cream of wheat instead of grits; johnny cake instead of cornbread; and certainly no fried green tomatoes. To make matters worse, I spent my childhood in Marietta, where cultural food experiences are lacking almost as much as Southern accents. It wasn't until college and a few trips to Albany, Georgia that I discovered the magic of good grits and the brilliance in fried everything (on occasion). I'm still learning, but here's what I considered a great fried green tomato. And in honor of Southern cooks everywhere, I used Duke's Mayonnaise for my dip.


Panko-Fried Green Tomatoes with Dill, Horseradish and Mayonnaise Dip

1 large green tomato
1 egg, lightly whipped
Panko for coating
Vegetable oil, for frying

1/4 cup Duke's Mayonnaise
1 Tbsp. horseradish
1/2-1 tsp. fresh dill, minced
pepper to taste


1. Remove the core and thinly slice a green tomato. Heat 1/2 inch of oil in a small frying pan on medium.
2. Stir together the mayo, horseradish, dill and pepper. Taste and adjust if necessary. 
3. Dip each slice in egg, then coat with panko on both sides. Place in hot oil, about 2 minutes on each side, or until brown and long enough to cook the tomato to sweetness.


See, wasn't that easy? And delicious! But if you're like me, you can never settle for just making one thing. I saw some whole grain pita bread in the "Oops we over baked" section and decided to make pita chips as my aunt did last weekend. Although they take a bit more time then purchasing and opening a bag of store bought pita chips, I guarantee these are worth the time. They are more flavorful, you have the creativity to invent your own flavors, and they are crisp but not rock hard like the ones at the store. I opted for Parmesan, rosemary and salt pita chips.


Baked Parmesan and Rosemary Whole Grain Pita Chips

1 bag of whole grain pita bread
Roughly 1/2 cup shredded Parmesan
Dried rosemary
Kosher salt and pepper
Olive oil


1. Preheat oven to 325.
2. Slice off the outer edge of each pita such that you can separate the two halves then cut each into 5-6 triangles.
3. Brush olive oil on both sides of each triangle. Sprinkle cheese and a small pinch of salt, pepper and rosemary onto each chip.
4. If possible, arrange on a wire rack to allow optimal air circulation and crispiness. If not, baking straight on a baking sheet should be fine. Bake for roughly 12 minutes. Enjoy plain, with your favorite dip or even the extra dip from the fried green tomatoes!

Wednesday, May 18, 2011

Italian inspiration on a cool summer night

While Blair's romantic future may be ever in question, while Serena's hips appear ever wider in ever shorter skirts, and while the number of characters Gossip Girl writers manage to write in simply to dream up an elaborate, multi-character, history-spanning deception will never cease to shock, Monday night dinners always satisfy.

This Monday marked both the first Monday night dinner of the summer as well as the last Gossip Girl episode of the season. The meal had to be fresh, part cool and part warm to fit the unseasonable weather, and most importantly, use up a hella lot of basil and other market goodies in the fridge. This is a 3-part menu so get ready for dinner party ya'll.


I'd picked up some large, green kohlrabi from my favorite farmers at Cedar Grove Farm as well as leeks, purple and green asparagus, sweet onions, and radish peas from other Athens Farmers Market vendors. It seemed only fitting to dream up a cool, raw salad to match the hot summer days ahead. I've become obsessed with kohlrabi lately, because they are in season and because I only just discovered how tasty they can be when eaten raw. And radish peas were a wholly new discovery. Apparently, radishes, when left to seed, produce pea-like pods that taste like strong radishes. In Asia, it is more common to cultivate radishes for this purpose than for the radishes we know and love here.


Cold Kohlrabi and Asparagus Ribbon Salad with Radish Peas and a Lemon Vinaigrette


2 large kohlrabi heads, julienned
Bundle of asparagus spears, purple and green if possible, peeled into ribbons
Small bag of radish peas, chopped into small discs
2 small leeks or 1 medium, julienned, optional
Shaved parmesan

Vinaigrette amounts estimated to taste
1 lemon, juiced
2-3 Tbsp. olive oil
2 tsp red wine vinegar
salt and pepper to taste


1. Julienne the kohlrabi using a food processor if you have one. Strip the asparagus into ribbons using a vegetable peeler, slicing off the heads to serve intact. Slice radish peas into small discs. Use as many as you prefer to make the salad pack the punch you desire.
2. If a touch of sweetness is something you crave, thinly slice small leeks into matchsticks and caramelize on medium low heat in a touch of olive oil or or truffle oil. I threw in a few fresh tarragon leaves as well. Allow to cool before adding to the salad.
3. Whisk together the vinaigrette ingredients, adding more olive oil or vinegar to your taste. 
4. Toss all ingredients together and serve with shaved Parmesan on top.


Now, if we were really Italian, we'd be going in reverse order, eating our salad last, but it's often at my house that whichever dish is done first, is eaten first. We did begin the evening with a bottle of wine and some crostinis. These could also be eaten as more of a main course as larger open-face sandwiches (which I did tonight with the leftovers.


Broiled Crostinis with Mozzarella, Pesto, Marinated Tomatoes and Fresh Basil


Half loaf of fresh bread, sliced thinly - we used a semolina loaf from Alfredo's Bread
3 tomatoes, sliced
Mozzarella, sliced into discs
Handful fresh basil
Balsamic
Rosemary

Pesto - makes extra for freezing and leftovers
5 packed cups of basil
4-5 cloves garlic
1/4 cup pine nuts
scant 1/4 cup sliced almonds
1/4 cup Parmesan cheese
1/3 cup olive oil, add to taste up to 1/4 cup
salt and pepper to taste
pinch of cinnamon


1. Marinate sliced tomatoes with balsamic vinegar and rosemary. 
2. Pulverize nuts and garlic in the food processor. Add the basil, Parmesan, salt and pepper, pinch of cinnamon. Pour the olive oil in as you process. Taste and adjust.
3. Turn oven on broil. Slice bread thinly into squares of half loaf slices; remove crusts. Arrange bread on a baking. Spread pesto on each slice. Top with one tomato and one tomato slice.
4. Broil until mozzarella is slightly brown and bubbling, check after 3 minutes. Slide a piece of fresh basil under each tomato and serve immediately.


At this point we were 2 bottles of wine in and ready for a warm soup merging classical technique and seasonal tweaks to adjust for the unusually cool evening. This variation on a ribollita truly hit the spot, with layered notes of flavor, using greens on hand in the fridge, an experiment with veggie boullion and a punch of vegetarian goodness. In place of kale, I chopped up kohlrabi and beet greens. After thumbing through my copy of Super Natural Cooking Everyday, I decided to take Heidi's advice and use bouillon cubes instead of buying veggie stock since I didn't have any homemade on hand. I grabbed a veggie bouillon from the organic section at Kroger and I couldn't have been more pleased with the flavor and the price.


Vegetarian Ribollita

1/2 pound dried Great Northern beans
Kosher salt
1/4 cup olive oil
3 small yellow onions, diced
1 cup chopped carrots, about 6 small organic carrots
3 stalks chopped celery, chopped
6 cloves minced garlic
1 tsp. freshly ground black pepper
1/4 tsp. crushed red pepper flakes
3 tomatoes, chopped
Roughly 4 cups coarsely chopped greens - I used kohlrabi greens (2 bunches) and beet greens (1 bunch)
1/2 cup chopped fresh basil leaves
3 bouillon cubes in 6 cups water or 6 cups vegetable stock (I recommend Edward & Sons Garden Veggie Bouillon Cubes)
Roughly 3 cups foccacia bread cubes
1/2 cup freshly grated Parmesan, for serving

1. Soak beans overnight or boil beans for 3 minutes and let soak for 1-2 hours. Drain. Bring the beans to a boil in unsalted water then reduce to simmer for 45 minutes. Add about 1 tsp. salt and cook for another 10-15 minutes or until desired tenderness. Save the cooking liquid.


2. Meanwhile, heat the oil in a large stockpot. Add the onions and cook over medium-low heat for 7 to 10 minutes, until the onions are translucent. Add the carrots, celery, garlic, 1 Tbsp. of salt, pepper, and red pepper flakes. Cook over medium-low heat for 7 to 10 minutes, until the vegetables are tender. Add the tomatoes, greens and basil, and cook over medium-low heat, stirring occasionally, for another 7 to 10 minutes.


3. In the bowl of a food processor, puree half of the beans with a little of the cooking liquid. Add to the stockpot, along with the remaining whole beans. Add bean cooking liquid (to cups) to the stock to make 8 cups. Add to the soup and bring to a boil. Reduce the heat and simmer over low heat for 20 minutes.


4. Add the bread and simmer for 10 more minutes. Taste for seasoning and serve hot in large bowls sprinkled with Parmesan.


 Buona sera readers! Buon appetito!

Friday, April 29, 2011

Growing your own Food

The growing bug has hit me hard. I'm so ecstatic about my upcoming summer garden that every day I cannot wait to check each pot, tray and plot to see what tiny green sprouts are popping up. I've really committed myself, despite living in a rental that I will have to leave at the end up the summer, with a 10 x 20 foot garden I dug out myself by hand (no minor feat in hard clay with roots and rock), many containers and two new tires.

Here's my preliminary plan for the plot. Certainly to be adjusted through trial and error I'm sure!

I've been reading about companion planning for a long time now, so I've been using that philosophy to guide my planting. Louise Riotte's book Tomatoes Love Carrots is excellent. I even wrote a children's book using her principles for a class project last semester where the main character, a little boy named Max Marigold, learns to like vegetables as he learns how they help each other grow strong and tasty. I'll try to upload it soon. 


This week my big project is expanding the garden such that the 3 sisters - corn, beans and squash, will have the required 10 x 10 foot space to grow. I'll need to amend the soil with compost and manure because corn is such a heavy feeder and the newly dug soil won't have benefited from my winter cover crop. The three sisters technique was developed  by the native Americans and is founded in the principles of companion planting. Basically, the corn acts as a post for the beans to grow on, and both provide the shade that is preferred by squash. Additionally, beans, as a legume, replenish the soil through nitrogen fixation. Here's a diagram of how I'll do it. 


 For now, things are growing growing growing so I want to share a few pictures of my pride and joy to hopefully inspire you to start growing at home.


Charlie loves the catnip. He rugs it down and covers it in cat hair, and it always grows back!

Had to offer these wee basil plants a little help - it's been so windy

Some spearmint with the biggest leaves I've seen. Perfect for mojitos

These bloomed against all odds - biggest odd being that I planted the bulbs 4 months late


Potatoes in a tire Part 1
Tomatoes in the Tire Part 2 - These sprouted from organic store bought Yukon Golds and Russet potatoes
Nasturtiums, a tasty edible flower, peaking out to help the radishes grow in between

100% of the cucumbers germinated! Ready to go into their tire container soon


English thyme

Red onion starters


Mesclun, basil, lettuce and spinach popping up

Sweet corn!!!!

Globe artichoke plant with chives starting to come up around it

Oregano, Cilantro, and Sage

My herb and tree oasis. Redbud and Oak saplings thriving


Friday, April 15, 2011

Winter Vegetable Stew and Peasant Bread

Well, it looks like we're in for another dreary, rainy weekend in the state that doesn't understand seasons (with one exception for blisteringly hot, ever-enduring summer months). I think I might have psychic, weather-controlling powers because every time I wear shorts, a skirt or even I dare say a tank top, the weather takes a turn for the cold, windy and rainy. But, no bother, because I have the perfect stew and spirits to lift your spirits.

I made this stew about a month ago - the first of many times I've had to toss a lovely spring menu plan in exchange for something that will warm us in a heat-free home. I've never been more glad about chilly rainy weather than that day.


I don't know about you but I'm always looking for a good thick stew that's as easy as it is flavorful. This winter stew delivers on all accounts, and it can be made with meat or without. Even better, I imagine any root vegetables you have lying around will suit the flavors just fine. I had my eye on parsnips, but with none available, turnips and a rutabaga were lovely.


Winter Vegetable Stew 

1 rutabega, chopped to 1/2 inch dice (or bigger if that's how you like your stew)
2 red potatoes, chopped to 1/2 inch dice
1 turnip, chopped to 1/2 inch dice
1 medium leek, julienned
2-3 carrots, chopped to thin rounds
3 celery stalks, thinly chopped
1 small yellow onion, diced
1/2 cup flour
2 ears of corn
5 cups water
1/2 cup soy sauce
1 Tbsp. onion powder
1 cup (+) Guinness Stout or other stout beer, divided
2 Tbsp. Worcestershire sauce
4 Tbsp. butter
1/2 cup flour
1/4 cup nutritional yeast
1 tsp. salt
1/2 tsp. black pepper
1/2 tsp. ground mustard
small pinch nutmeg
2 bay leaf
pinch of sage, rosemary and thyme (fresh if you have it)
1 cup milk (optional - tasted good before and after this addition) 
Precooked rotisserie chicken, shredded (optional)

Instructions

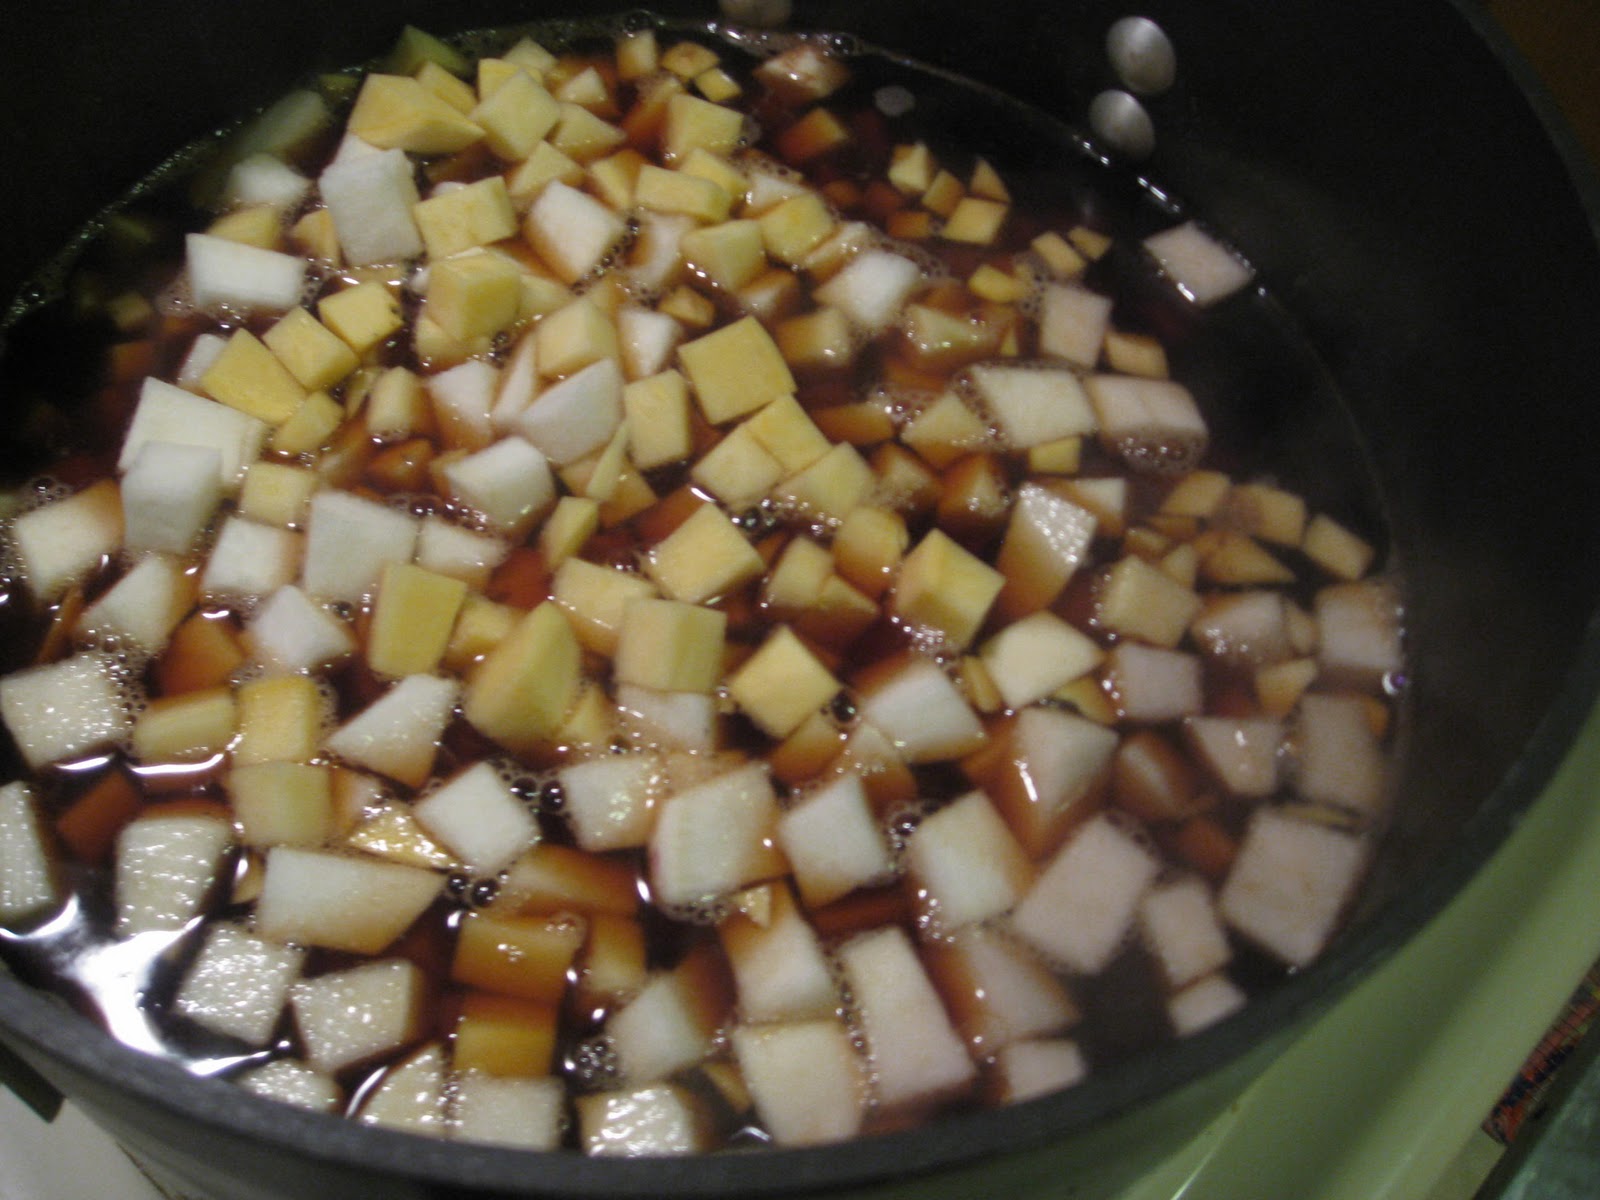
1. Boil the rutabega, potato and turnip (or any root veggies you're using) in a mixture of water, soy sauce, onion powder, 1/2 cup beer and Worchestershire sauce until vegetables are barely tender. Time will depend on the size of your dice. Don't drain, and set aside.
2. Melt butter in a large pot and add onion, carrot, celery and leek. Saute until tender. Add flour, yeast, salt, black pepper, ground mustard, nutmeg, and herbs. Cook over medium heat for 5 minutes. Gradually add 1/2 cup of remaining beer as needed.
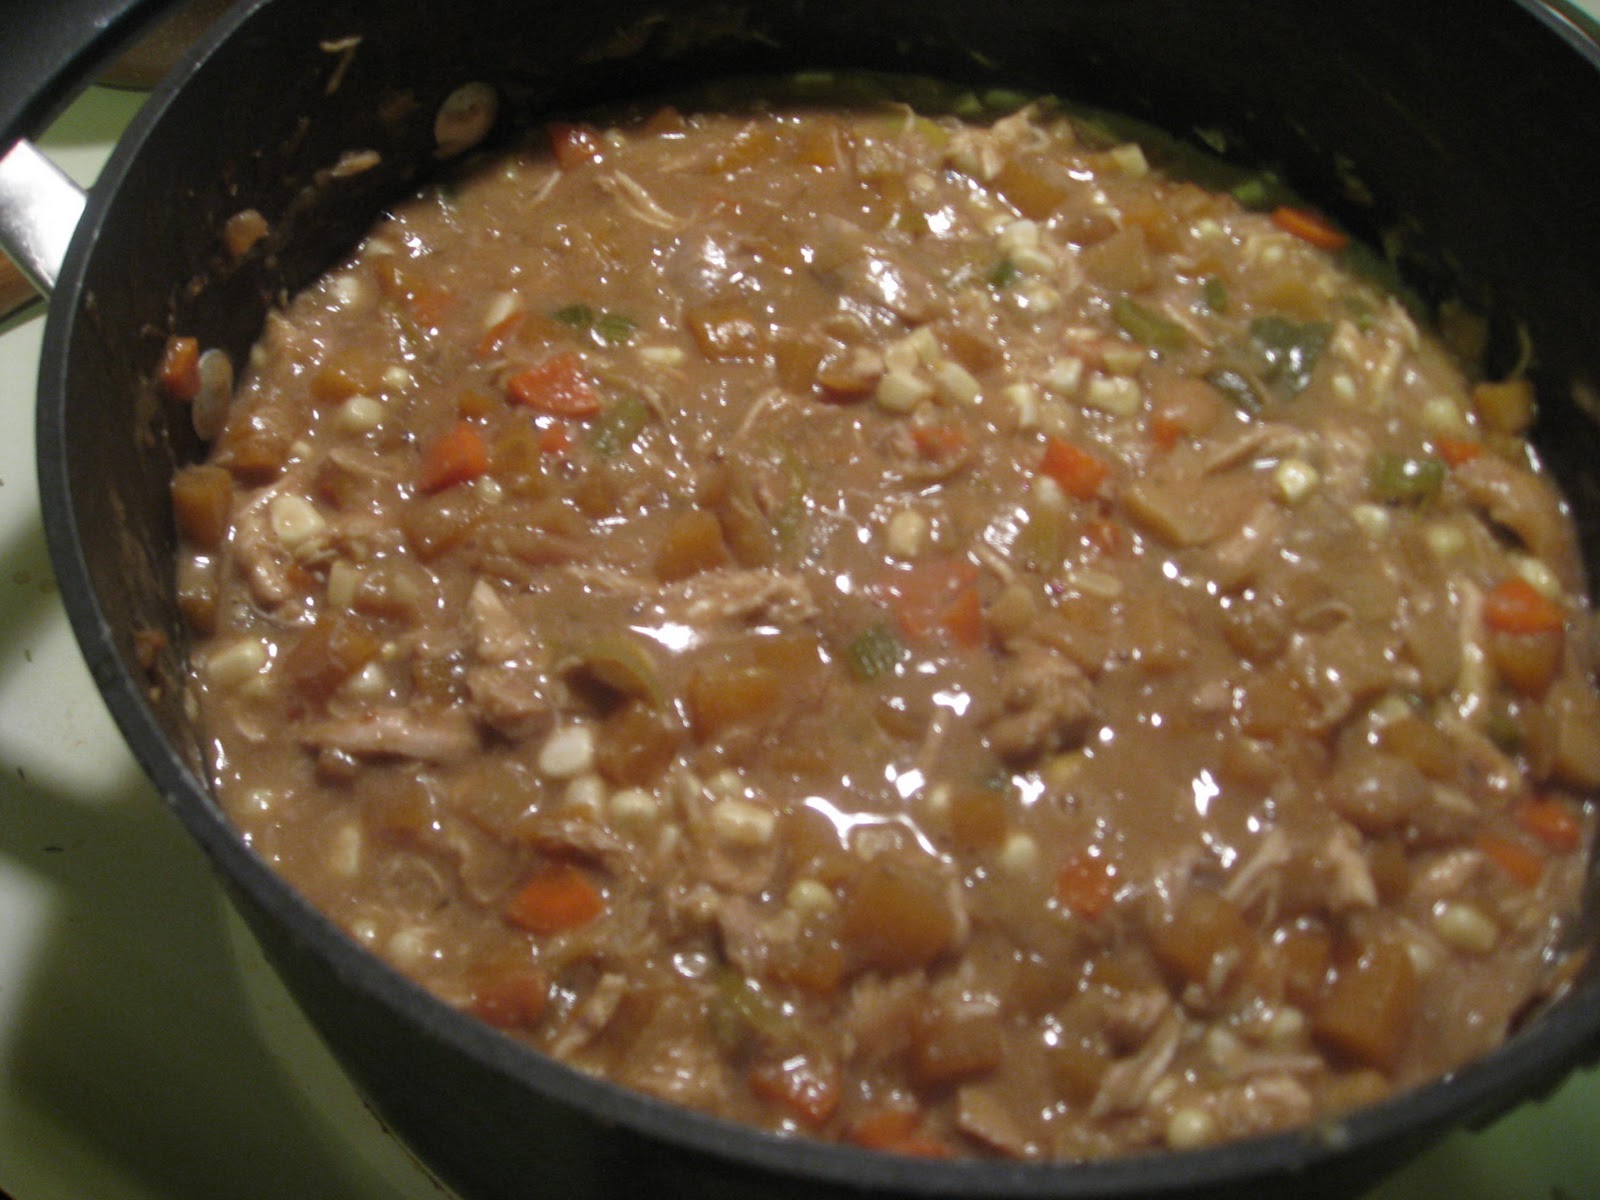
3. Increase heat to medium high and gradually stir in boiled root vegetables plus cooking liquid. Simmer, stirring frequently for 15 to 20 minutes. If you choose to, add chicken after about 10 minutes.
4. Add corn and milk and continue simmering for 5 minutes. 
5. Remove and discard bay leaf. Enjoy!


Of course, any decent stew deserves good bread and good beer to go with it. I recommend Guinness Extra Stout as you already have to purchase the beer to make the stew. But if you want to step it up a notch, we made Irish Car Bombs. All you need a bottle of Guinness, a shot of Bailey's Irish Cream and a shot of Jameson's Whiskey. Pour the beer into a pint glass and serve with the two shots in individual shot glasses. When it's time to drink, pour the two shots into the beer and drink as quickly as you can! I'd always been turned off by the curdling of the Irish Cream in this drink, but it actually tastes really good, and it's a fun take on shots with friends.

As for bread, any hardy wheat or rye will do. I had just gotten some rye flour from Sylvan Falls Mill at Athens Locally Grown, so I wanted to make a loaf to incorporate this. I ended up making the following peasant bread.


Peasant Bread

3 cups lukewarm water
1 1⁄2 Tbsp. dry active yeast
1 1⁄2 Tbsp. Kosher salt
1⁄2 cup rye flour
1⁄2 cup whole wheat flour
5 1⁄2 cups unbleached all purpose flour
Cornmeal for dusting the peel

Instructions

1.Mix yeast and salt with water in a large bowl. Let proof for about 10 minutes. Mix in the remaining dry ingredients without kneading. You may have to use your hands to get the last bit of flour mixed in. Cover and allow to rest at room temperature until the dough rises, about 2 hours. Can be stored up to 14 days in the refrigerator.

2. Dust the surface of the dough with flour and cut off a piece about the size of a grapefruit. Dust with more flour and quickly shape it into a ball by stretching the surface of the dough around to the bottom on all four sides, rotating the ball a quarter turn as you go. Allow to rest and rise on a cornmeal-covered surface for 40 minutes.

3. Preheat the oven to 450°F, with a baking stone placed on the middle rack. Place an empty broiler tray or a baking tray if it's all you have on the shelf below.

4. After 40 minutes, sprinkle the loaf liberally with flour and slash a cross on the top. Slide the loaf directly onto the hot stone. Pour 1 cup of hot tap water into the broiler tray and quickly close the oven door. Bake for about 35 minutes or until the top crust is deeply browned and very firm. Smaller or larger loaves will require adjustments in baking time.