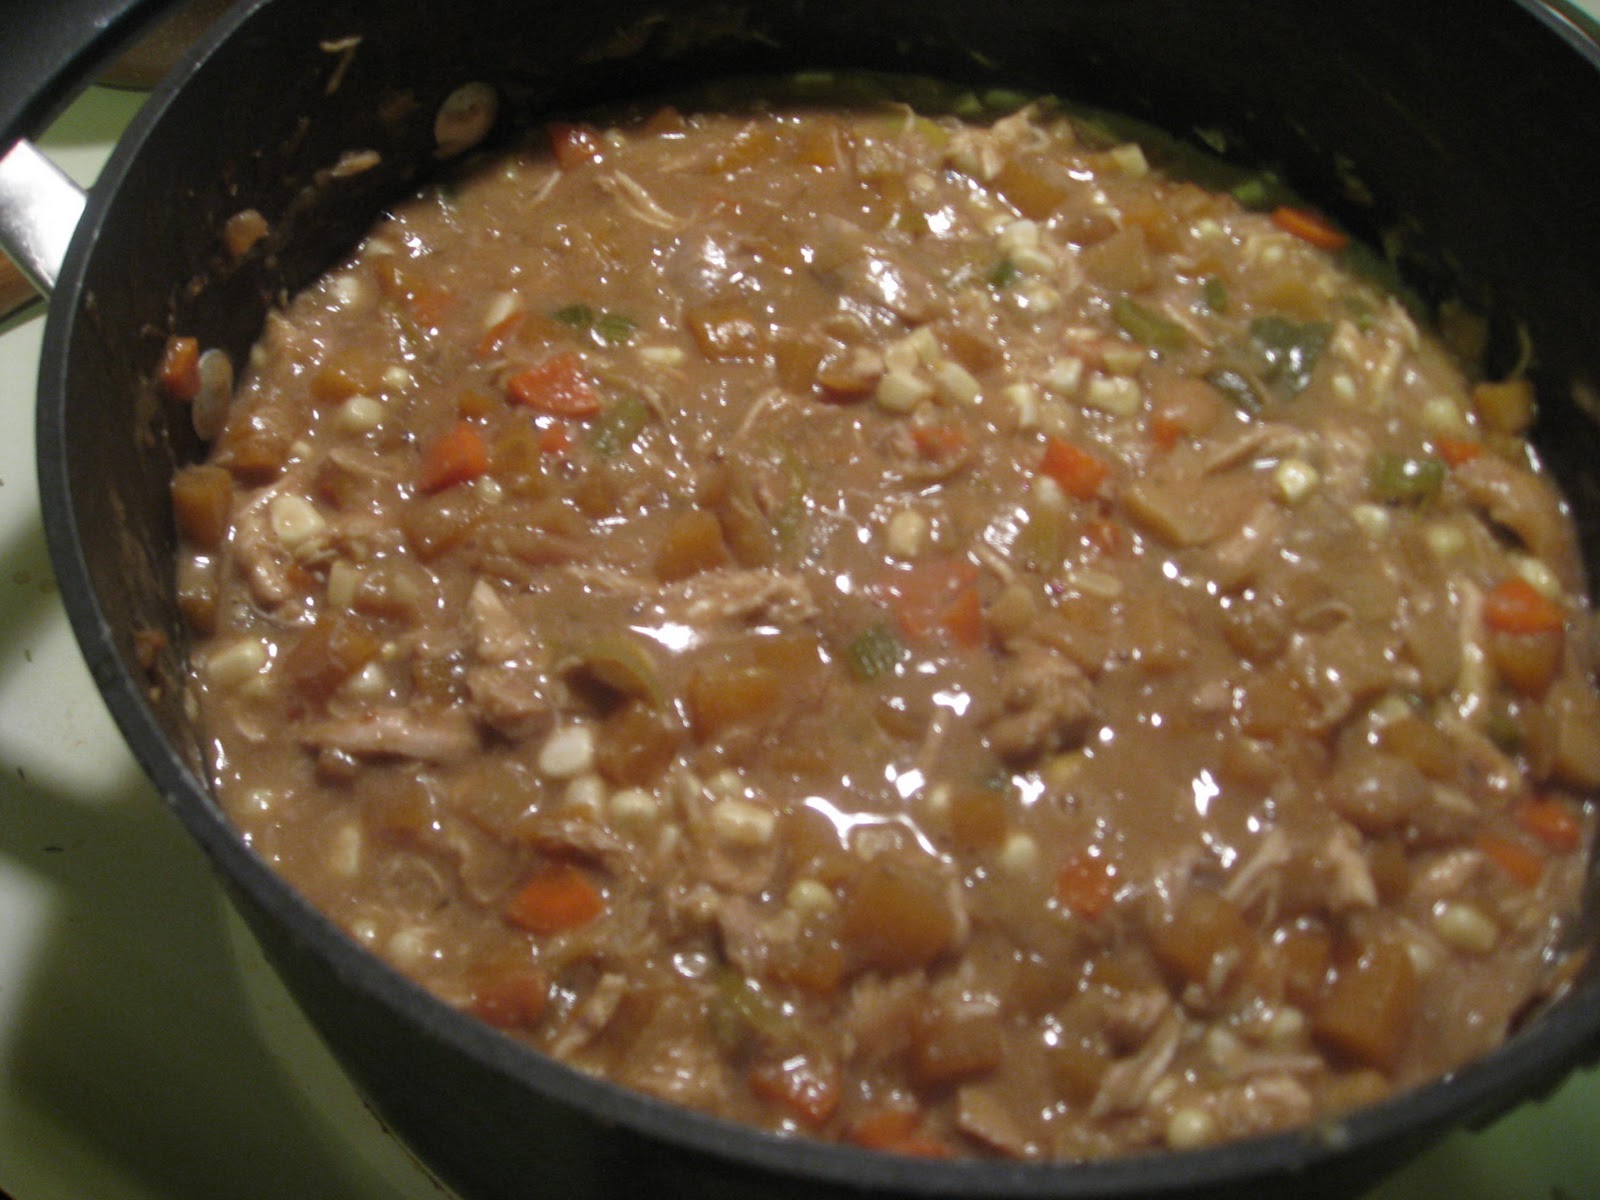
Well, it looks like we're in for another dreary, rainy weekend in the state that doesn't understand seasons (with one exception for blisteringly hot, ever-enduring summer months). I think I might have psychic, weather-controlling powers because every time I wear shorts, a skirt or even I dare say a tank top, the weather takes a turn for the cold, windy and rainy. But, no bother, because I have the perfect stew and spirits to lift your spirits.
I made this stew about a month ago - the first of many times I've had to toss a lovely spring menu plan in exchange for something that will warm us in a heat-free home. I've never been more glad about chilly rainy weather than that day.
I don't know about you but I'm always looking for a good thick stew that's as easy as it is flavorful. This winter stew delivers on all accounts, and it can be made with meat or without. Even better, I imagine any root vegetables you have lying around will suit the flavors just fine. I had my eye on parsnips, but with none available, turnips and a rutabaga were lovely.
Winter Vegetable Stew
1 rutabega, chopped to 1/2 inch dice (or bigger if that's how you like your stew)
2 red potatoes, chopped to 1/2 inch dice
1 turnip, chopped to 1/2 inch dice
1 medium leek, julienned
2-3 carrots, chopped to thin rounds
3 celery stalks, thinly chopped
1 small yellow onion, diced
1/2 cup flour
2 ears of corn
5 cups water
1/2 cup soy sauce
1 Tbsp. onion powder
1 cup (+) Guinness Stout or other stout beer, divided
2 Tbsp. Worcestershire sauce
4 Tbsp. butter
1/2 cup flour
1/4 cup nutritional yeast
1 tsp. salt
1/2 tsp. black pepper
1/2 tsp. ground mustard
small pinch nutmeg
2 bay leaf
pinch of sage, rosemary and thyme (fresh if you have it)
1 cup milk (optional - tasted good before and after this addition)
Precooked rotisserie chicken, shredded (optional)
Instructions
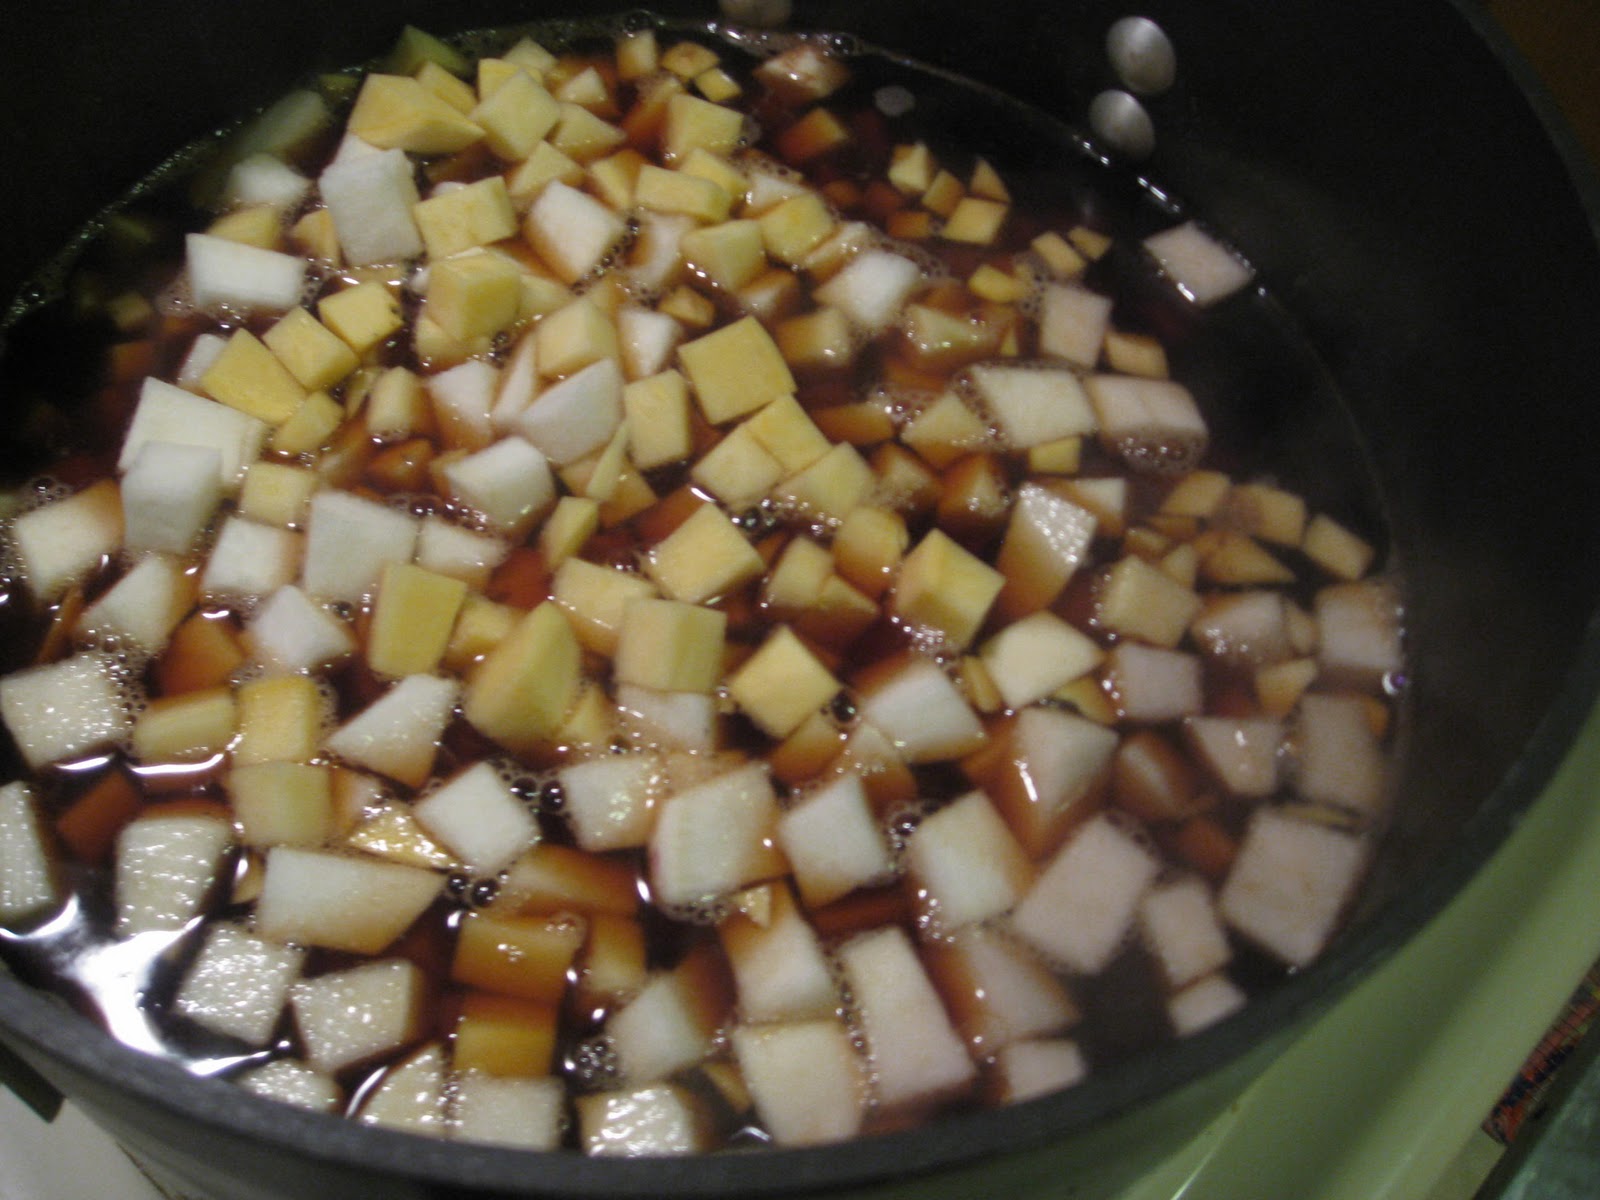
1. Boil the rutabega, potato and turnip (or any root veggies you're using) in a mixture of water, soy sauce, onion powder, 1/2 cup beer and Worchestershire sauce until vegetables are barely tender. Time will depend on the size of your dice. Don't drain, and set aside.
2. Melt butter in a large pot and add onion, carrot, celery and leek. Saute until tender. Add flour, yeast, salt, black pepper, ground mustard, nutmeg, and herbs. Cook over medium heat for 5 minutes. Gradually add 1/2 cup of remaining beer as needed.
3. Increase heat to medium high and gradually stir in boiled root vegetables plus cooking liquid. Simmer, stirring frequently for 15 to 20 minutes. If you choose to, add chicken after about 10 minutes.
4. Add corn and milk and continue simmering for 5 minutes.
5. Remove and discard bay leaf. Enjoy!
Of course, any decent stew deserves good bread and good beer to go with it. I recommend Guinness Extra Stout as you already have to purchase the beer to make the stew. But if you want to step it up a notch, we made Irish Car Bombs. All you need a bottle of Guinness, a shot of Bailey's Irish Cream and a shot of Jameson's Whiskey. Pour the beer into a pint glass and serve with the two shots in individual shot glasses. When it's time to drink, pour the two shots into the beer and drink as quickly as you can! I'd always been turned off by the curdling of the Irish Cream in this drink, but it actually tastes really good, and it's a fun take on shots with friends.
As for bread, any hardy wheat or rye will do. I had just gotten some rye flour from Sylvan Falls Mill at Athens Locally Grown, so I wanted to make a loaf to incorporate this. I ended up making the following peasant bread.
Peasant Bread
3 cups lukewarm water
1 1⁄2 Tbsp. dry active yeast
1 1⁄2 Tbsp. Kosher salt
1⁄2 cup rye flour
1⁄2 cup whole wheat flour
5 1⁄2 cups unbleached all purpose flour
Cornmeal for dusting the peel
Instructions
1.Mix yeast and salt with water in a large bowl. Let proof for about 10 minutes. Mix in the remaining dry ingredients without kneading. You may have to use your hands to get the last bit of flour mixed in. Cover and allow to rest at room temperature until the dough rises, about 2 hours. Can be stored up to 14 days in the refrigerator.
2. Dust the surface of the dough with flour and cut off a piece about the size of a grapefruit. Dust with more flour and quickly shape it into a ball by stretching the surface of the dough around to the bottom on all four sides, rotating the ball a quarter turn as you go. Allow to rest and rise on a cornmeal-covered surface for 40 minutes.
3. Preheat the oven to 450°F, with a baking stone placed on the middle rack. Place an empty broiler tray or a baking tray if it's all you have on the shelf below.
4. After 40 minutes, sprinkle the loaf liberally with flour and slash a cross on the top. Slide the loaf directly onto the hot stone. Pour 1 cup of hot tap water into the broiler tray and quickly close the oven door. Bake for about 35 minutes or until the top crust is deeply browned and very firm. Smaller or larger loaves will require adjustments in baking time.
Showing posts with label dough. Show all posts
Friday, April 15, 2011
Wednesday, March 2, 2011
One Fresh Loaf
The more I've experimented with bread baking lately, the less I can justify purchasing it from the store. Deep down I know this is silly really, and I'll still pick up a loaf in a rush, but it's just so easy and rewarding to make bread at home.
Most importantly, bread made at home is obviously as fresh as you'll get it. After you've managed to cover your hands in sticky dough, the counter in flour-hardened dough, and your shirt/pants/face in flour, the wafting scent of nearly done bread filling your home and the delight in pulling out a loaf from the oven that has miraculously risen and finished to perfection is a beautiful thing.
From the start, making bread at home can seem daunting because each recipe, and there are millions, varies slightly not only in ingredients but in seemingly very science-y ways such as exact temperatures in the environment, specific lengths of multiple rises, certain types of yeast, and a cultural debate over whether bread prefers to rise in an oil-coated bowl or a dry one. As an amateur bread baker at best, I can say that trying my best to follow a well-tested bread recipe and not over-thinking it, i.e. fretting too much if I am unsure whether it rose exactly twice its size or for exactly 45 minutes has led to some fine results.
Before the recipes, a few memoirs to comfort the reticent baker:
How Michael Ruhlman Overcame his Fear of Yeast
Breadmaking Tips from the Smitten Kitchen
And from Trailbraising, I say, simply, always read the recipe in full before starting out, taking note of how much lapsed rise time the bread will actually need. I will bold all significant time lapses in the following recipes. The worst disappointment comes when you've started a recipe, already tasting the dream of bread in your mouth, only to discover an overnight rise is only the beginning to the process.
A Quick and Easy Loaf: English Muffin Toasting Bread
3 cups all-purpose flour
1 Tbsp. sugar
1 1/2 tsp. salt
1/4 tsp. baking soda
1 Tbsp. instant yeast [I used Dry Active in a pinch and it still worked out fine]
1 cup milk
1/4 cup water
2 Tbsp. vegetable oil or olive oil
cornmeal, to sprinkle in pan
Instructions
And for a wow from the crowd: Grape Focaccia with Rosemary
3/4 cup warm water
2 Tbsp. milk, slightly warmed
1 1/2 tsp. sugar
1 1/4 tsp. active dry yeast
2 cups all-purpose flour
1/2 tsp. salt
6 Tbsp. olive oil
1 1/2 cups halved Concord, red or black grapes (no seeds please!)
1 tsp. fresh rosemary needles
2 Tbsp. raw or coarse sugar
2 tsp. coarse sea salt
Instructions
1. Stir together the water, milk, sugar, and yeast. Let the mixture sit until foamy, about 10 minutes. Add the flour, salt and 2 tablespoons of the olive oil to the yeast mixture and mix well (either in a mixer with a dough hook, in a food processor with a dough blade, or by hand with a wooden spoon). This kneading should last about 6 to 8 minutes depending on your method.
2. Brush a large bowl with a generous amount of olive oil. Scrape dough into the bowl and brush the top with additional oil. Cover with plastic wrap and let it rise in a cool place until it doubles in bulk, 1 1/2 to 2 hours.
3. Press the dough down with a floured hand. Turn the dough out onto a floured surface and divide it into two balls.
4. Brush a large baking sheet with olive oil, place the balls of dough on it and brush the top with more oil. Set it aside for 20 minutes, lightly covered with a kitchen towel.
5. After 20 minutes, dip your fingers in olive oil and press and stretch each ball of dough into a 8 to 9-inch circle shape. Cover again with the towel and let it rise for another 1 1/4 hours in a cool place.
6. Preheat the oven to 450°F. Brush tops of dough with remaining olive oil and sprinkle top with grapes, rosemary, coarse sugar and coarse sea salt evenly over the dough. Bake for 15 minutes, until the crust is golden brown and puffed around edges. Serve warm or at room temperature.
My next goal is to forge my way into the world of "wild yeast" where you actually cultivate your own yeast. This is a common practice with sourdough breads in particular. When you make a starter, it's just a matter of creating the right condition to "awaken" the yeast that already lives on fresh grains. And, in the case of sourdough, collecting the bacteria that makes it sour. One you have a yeast culture, as long as you leave some remaining, the fungus yeast, which grows asexually by budding or fission, will be your own little renewable food resource in the household fridge.
But for those of you who still want to buy from the store, I recently learned that there's a secret code for bread freshness - the color of the twist tie or plastic fastener! Who knew?! If you have a poor memory, I would stash this easy key in your wallet. Or you can remember that bread is delivered daily from Monday to Saturday and the color code progresses alphabetically by day - Blue, Green, Red, White, Yellow. Neat.
Most importantly, bread made at home is obviously as fresh as you'll get it. After you've managed to cover your hands in sticky dough, the counter in flour-hardened dough, and your shirt/pants/face in flour, the wafting scent of nearly done bread filling your home and the delight in pulling out a loaf from the oven that has miraculously risen and finished to perfection is a beautiful thing.
From the start, making bread at home can seem daunting because each recipe, and there are millions, varies slightly not only in ingredients but in seemingly very science-y ways such as exact temperatures in the environment, specific lengths of multiple rises, certain types of yeast, and a cultural debate over whether bread prefers to rise in an oil-coated bowl or a dry one. As an amateur bread baker at best, I can say that trying my best to follow a well-tested bread recipe and not over-thinking it, i.e. fretting too much if I am unsure whether it rose exactly twice its size or for exactly 45 minutes has led to some fine results.
Before the recipes, a few memoirs to comfort the reticent baker:
How Michael Ruhlman Overcame his Fear of Yeast
Breadmaking Tips from the Smitten Kitchen
And from Trailbraising, I say, simply, always read the recipe in full before starting out, taking note of how much lapsed rise time the bread will actually need. I will bold all significant time lapses in the following recipes. The worst disappointment comes when you've started a recipe, already tasting the dream of bread in your mouth, only to discover an overnight rise is only the beginning to the process.
A Quick and Easy Loaf: English Muffin Toasting Bread
3 cups all-purpose flour
1 Tbsp. sugar
1 1/2 tsp. salt
1/4 tsp. baking soda
1 Tbsp. instant yeast [I used Dry Active in a pinch and it still worked out fine]
1 cup milk
1/4 cup water
2 Tbsp. vegetable oil or olive oil
cornmeal, to sprinkle in pan
- 12 3/4 ounces King Arthur Unbleached All-Purpose Flour
- 1/2 ounce sugar
- 1 1/2 teaspoons salt
- 1/4 teaspoon baking soda
- 1 tablespoon instant yeast
- 8 ounces milk
- 2 ounces water
- 7/8 ounce vegetable oil or olive oil
- cornmeal, to sprinkle in pan
Instructions
| 3. Pour the hot liquid over the dry ingredients. |
| 4. Beat on high or pulse for 1 minute, resulting in a very soft dough. |
| 5. Lightly grease a loaf pan, sprinkling the bottom and sides with cornmeal to prevent sticking. Transfer the dough to the pan and level out. |
| 6. Cover the pan with a dish cloth, and let the dough rise until it's even to slightly over the rim of the pan, about 45 minutes to 1 hour. Meanwhile, preheat the oven to 400°F. |
| 7. Bake the bread for 20 to 22 minutes until it's golden brown. If you want to be exact, bread is typically done with the inner temperature has reached 190 to 210 degrees. Some simple, yet exotic rolls: Olive and Rosemary Rolls 1 tsp. dry active yeast 1 tsp. sugar 1 cup lukewarm whole milk 2 1/2 cups all purpose flour 1 tsp. salt 1 Tbsp. olive oil generous 1/2 cup black olives, remove the seeds 1 1/2 Tbsp. rosemary leaves all purpose flour, for kneading olive oil, for brushing Instructions 1. Mix together the yeast, sugar and milk in a bowl. Set aside in a warm place for 5 minutes or until bubbles appear on the surface. This process is called proofing. 2. Add the flour, salt and oil to the yeast mixture and mix until a smooth dough forms. Knead on a lightly floured surface for 5 minutes or until smooth and elastic, adding a little extra flour if the dough becomes too sticky. Cover with plastic wrap, set aside in a warm place for 1 hour or until doubled in size. 3. Brush a round cake pan with oil. 4. Tear the olives into pieces and knead the olives and rosemary leaves into the dough on a generously floured surface, incorporating extra flour to compensate for the wetness of the olives. Divide into 16 pieces and roll into balls. Place in the prepared pan, cover with a clean dish towel and set aside in a warm place for 45 minutes or until the dough is doubled in size. In the meantime, preheat the oven to 350°F. Brush the tops with olive oil and bake for 20-25 minutes or until golden. |
And for a wow from the crowd: Grape Focaccia with Rosemary
3/4 cup warm water
2 Tbsp. milk, slightly warmed
1 1/2 tsp. sugar
1 1/4 tsp. active dry yeast
2 cups all-purpose flour
1/2 tsp. salt
6 Tbsp. olive oil
1 1/2 cups halved Concord, red or black grapes (no seeds please!)
1 tsp. fresh rosemary needles
2 Tbsp. raw or coarse sugar
2 tsp. coarse sea salt
Instructions
1. Stir together the water, milk, sugar, and yeast. Let the mixture sit until foamy, about 10 minutes. Add the flour, salt and 2 tablespoons of the olive oil to the yeast mixture and mix well (either in a mixer with a dough hook, in a food processor with a dough blade, or by hand with a wooden spoon). This kneading should last about 6 to 8 minutes depending on your method.
2. Brush a large bowl with a generous amount of olive oil. Scrape dough into the bowl and brush the top with additional oil. Cover with plastic wrap and let it rise in a cool place until it doubles in bulk, 1 1/2 to 2 hours.
3. Press the dough down with a floured hand. Turn the dough out onto a floured surface and divide it into two balls.
4. Brush a large baking sheet with olive oil, place the balls of dough on it and brush the top with more oil. Set it aside for 20 minutes, lightly covered with a kitchen towel.
5. After 20 minutes, dip your fingers in olive oil and press and stretch each ball of dough into a 8 to 9-inch circle shape. Cover again with the towel and let it rise for another 1 1/4 hours in a cool place.
6. Preheat the oven to 450°F. Brush tops of dough with remaining olive oil and sprinkle top with grapes, rosemary, coarse sugar and coarse sea salt evenly over the dough. Bake for 15 minutes, until the crust is golden brown and puffed around edges. Serve warm or at room temperature.
My next goal is to forge my way into the world of "wild yeast" where you actually cultivate your own yeast. This is a common practice with sourdough breads in particular. When you make a starter, it's just a matter of creating the right condition to "awaken" the yeast that already lives on fresh grains. And, in the case of sourdough, collecting the bacteria that makes it sour. One you have a yeast culture, as long as you leave some remaining, the fungus yeast, which grows asexually by budding or fission, will be your own little renewable food resource in the household fridge.
But for those of you who still want to buy from the store, I recently learned that there's a secret code for bread freshness - the color of the twist tie or plastic fastener! Who knew?! If you have a poor memory, I would stash this easy key in your wallet. Or you can remember that bread is delivered daily from Monday to Saturday and the color code progresses alphabetically by day - Blue, Green, Red, White, Yellow. Neat.
Thursday, February 10, 2011
Pizza
Homemade pizza is one of those things that always serves your deepest craving. Not only is it delicious and generally much better than pizza you'd buy, it's a great way to use up vegetables left in your fridge, it's easy and fun to do with friends, and it allows for endless creativity.I want to share some of my past pizza concoctions while reminding you that honestly, the sky is the limit when it comes to homemade pizza. I can't really imagine any combination of ingredients that would not work out based on any reason besides personal distaste.
First, the crust - thanks to grocery stores like Trader Joe's and Publix, it is as simple as a quick drive to the store and a couple of bucks to obtain ready-to-bake pizza dough. This is a great option when you're in a hurry. One time I even used an Irish Soda Bread mix as a dough. Of course, if you have time to make dough from scratch there are many options that require varying lengths of time to rise, such as this one, this one and this one, just to throw out a few. Everyone has a favorite recipe, so I encourage experimentation to find the best for you. Personally, I like the taste of homemade dough better than premade, possibly due to the use of bread flour or maybe just because it's rewarding to make your own. Keep in mind that homemade dough can be kept in the fridge about 3 days and in the freezer for up to 3 months. Be sure to defrost overnight in the fridge or on the counter for a few hours before rolling out and cooking.
The following dough recipe is one I used based on positive reviews, quick rise time and the inclusion of bread flour instead of all-purpose.
Quick Homemade Pizza DoughYield: 1 large crust
1 (.25 ounce) package active dry yeast (Be sure to get Active Dry and not Instant!)
1 cup warm water (About 110 degrees F or about 2 minutes in the microwave)
2 1/2 cups bread flour, plus more to knead in if too sticky
2 tablespoons olive oil
1 teaspoon salt
2 teaspoons white sugar
Instructions
- In a small bowl, stir to dissolve yeast in warm water. Let stand until creamy, about 10 minutes.
- In a food processor with a dough blade or a in a large bowl, combine 2 1/2 cups bread flour, olive oil, salt, white sugar and the yeast mixture. Beat or stir well until a stiff dough has formed. Cover and rise until doubled in volume, about 30 minutes. Meanwhile, preheat oven to 350F.
- Turn dough out onto a well floured surface. Form dough into a round and roll out into a pizza crust shape. Add flour as needed to keep from sticking.
- Cover with your favorite sauce and toppings and bake in preheated oven until golden brown, about 20 minutes.
1. Broccoli, garlic, feta, shredded mozzarella, and pesto
2. Olive oil (no sauce), mozzarella discs, basil and fresh or sun-dried tomatoes
3. Roasted sweet potatoes cut into discs with a bit of brown sugar, caramelized onions, garlic, no sauce, and shredded mozzarella
4. Mushrooms, sliced bell peppers, red onion, Mozzarella or Italian shredded cheeses, and pizza sauce
5. Spinach, mushrooms, pizza sauce, and garlic
![]() |
| Don't forget calzones! |
7. Nutella, marshmallow fluff, Bing cherries, and bananas
![]() |
| Emily and Charlie passed out from how good pizza is! |
What are some good pizzas you've made?
Subscribe to:
Posts (Atom)