Well, it looks like we're in for another dreary, rainy weekend in the state that doesn't understand seasons (with one exception for blisteringly hot, ever-enduring summer months). I think I might have psychic, weather-controlling powers because every time I wear shorts, a skirt or even I dare say a tank top, the weather takes a turn for the cold, windy and rainy. But, no bother, because I have the perfect stew and spirits to lift
your spirits.
I made this stew about a month ago - the first of many times I've had to toss a lovely spring menu plan in exchange for something that will warm us in a heat-free home. I've never been more glad about chilly rainy weather than that day.
I don't know about you but I'm always looking for a good thick stew that's as easy as it is flavorful. This winter stew delivers on all accounts, and it can be made with meat or without. Even better, I imagine any root vegetables you have lying around will suit the flavors just fine. I had my eye on parsnips, but with none available, turnips and a rutabaga were lovely.
Winter Vegetable Stew
1 rutabega, chopped to 1/2 inch dice (or bigger if that's how you like your stew)
2 red potatoes, chopped to 1/2 inch dice
1 turnip, chopped to 1/2 inch dice
1 medium leek, julienned
2-3 carrots, chopped to thin rounds
3 celery stalks, thinly chopped
1 small yellow onion, diced
1/2 cup flour
2 ears of corn
5 cups water
1/2 cup soy sauce
1 Tbsp. onion powder
1 cup (+) Guinness Stout or other stout beer, divided
2 Tbsp. Worcestershire sauce
4 Tbsp. butter
1/2 cup flour
1/4 cup nutritional yeast
1 tsp. salt
1/2 tsp. black pepper
1/2 tsp. ground mustard
small pinch nutmeg
2 bay leaf
pinch of sage, rosemary and thyme (fresh if you have it)
1 cup milk (optional - tasted good before and after this addition)
Precooked rotisserie chicken, shredded (optional)
Instructions
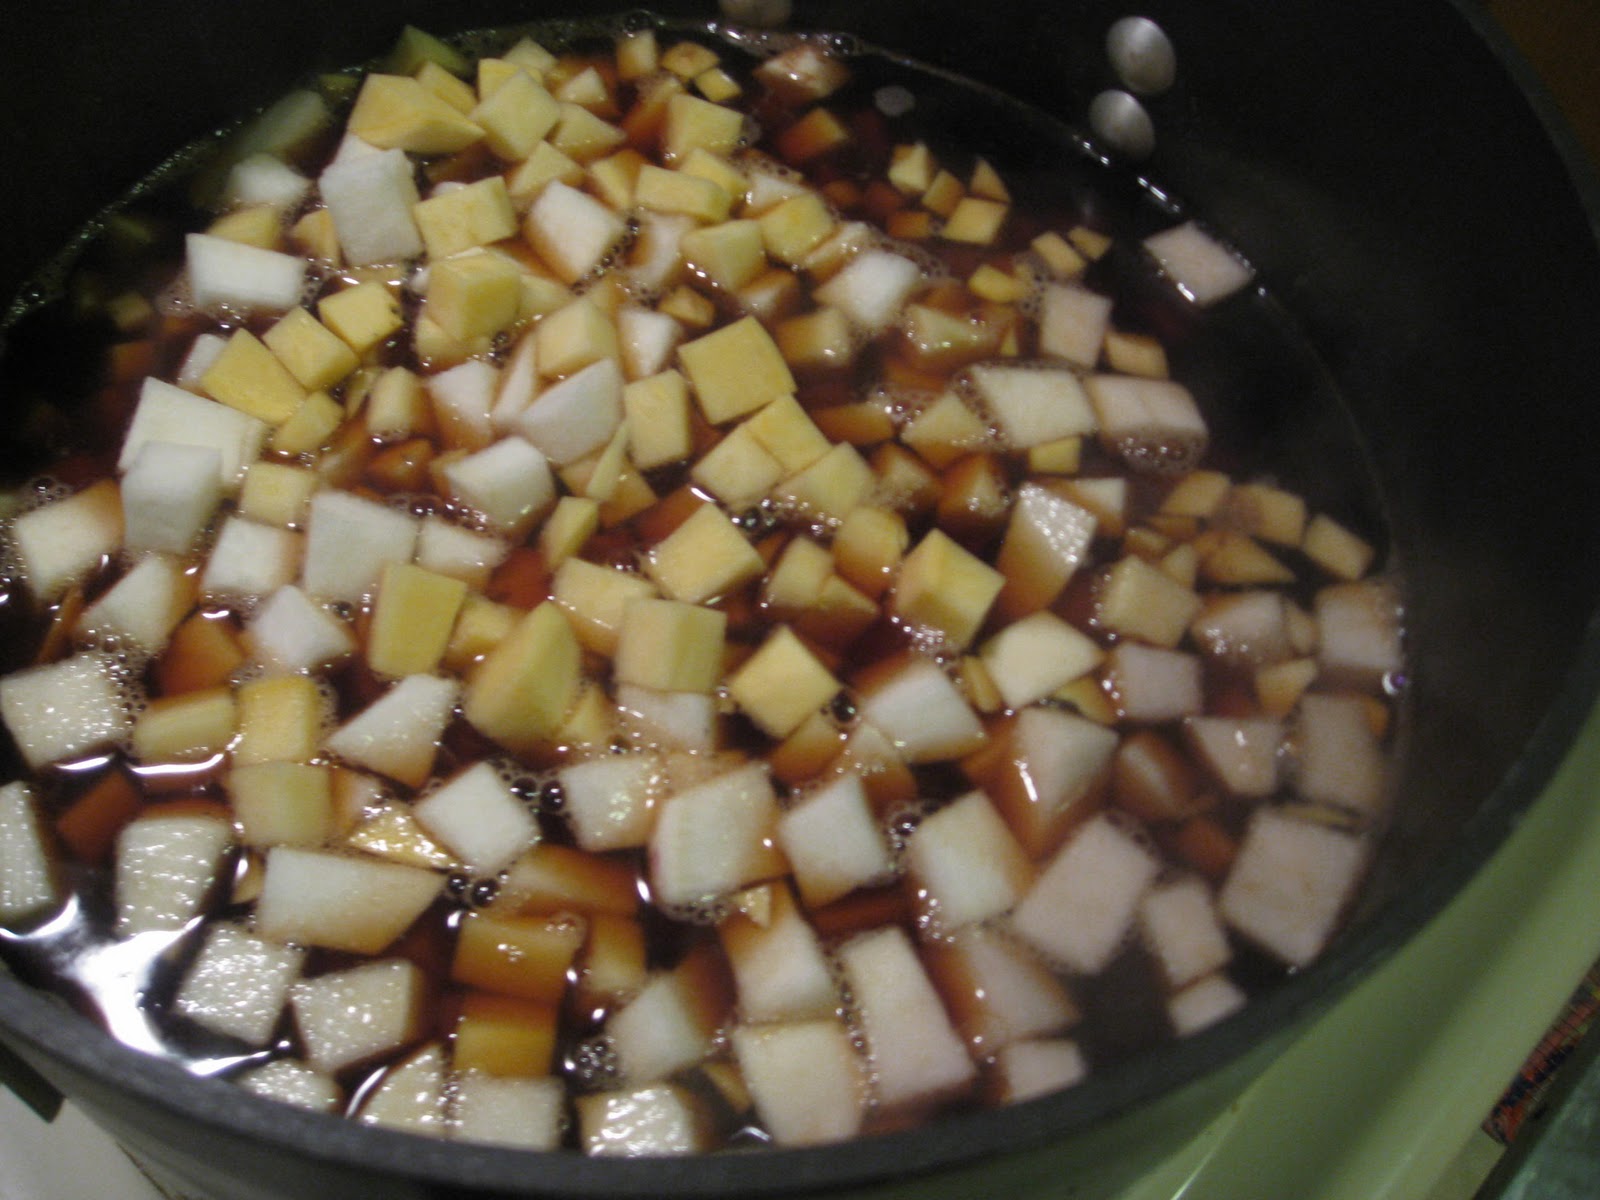
1. Boil the rutabega, potato and turnip (or any root veggies you're using) in a mixture of water, soy sauce, onion powder, 1/2 cup beer and Worchestershire sauce until vegetables are barely tender. Time will depend on the size of your dice. Don't drain, and set aside.
2. Melt butter in a large pot and add onion, carrot, celery and leek. Saute until tender. Add flour, yeast, salt, black pepper, ground mustard, nutmeg, and herbs. Cook over medium heat for 5 minutes. Gradually add 1/2 cup of remaining beer as needed.
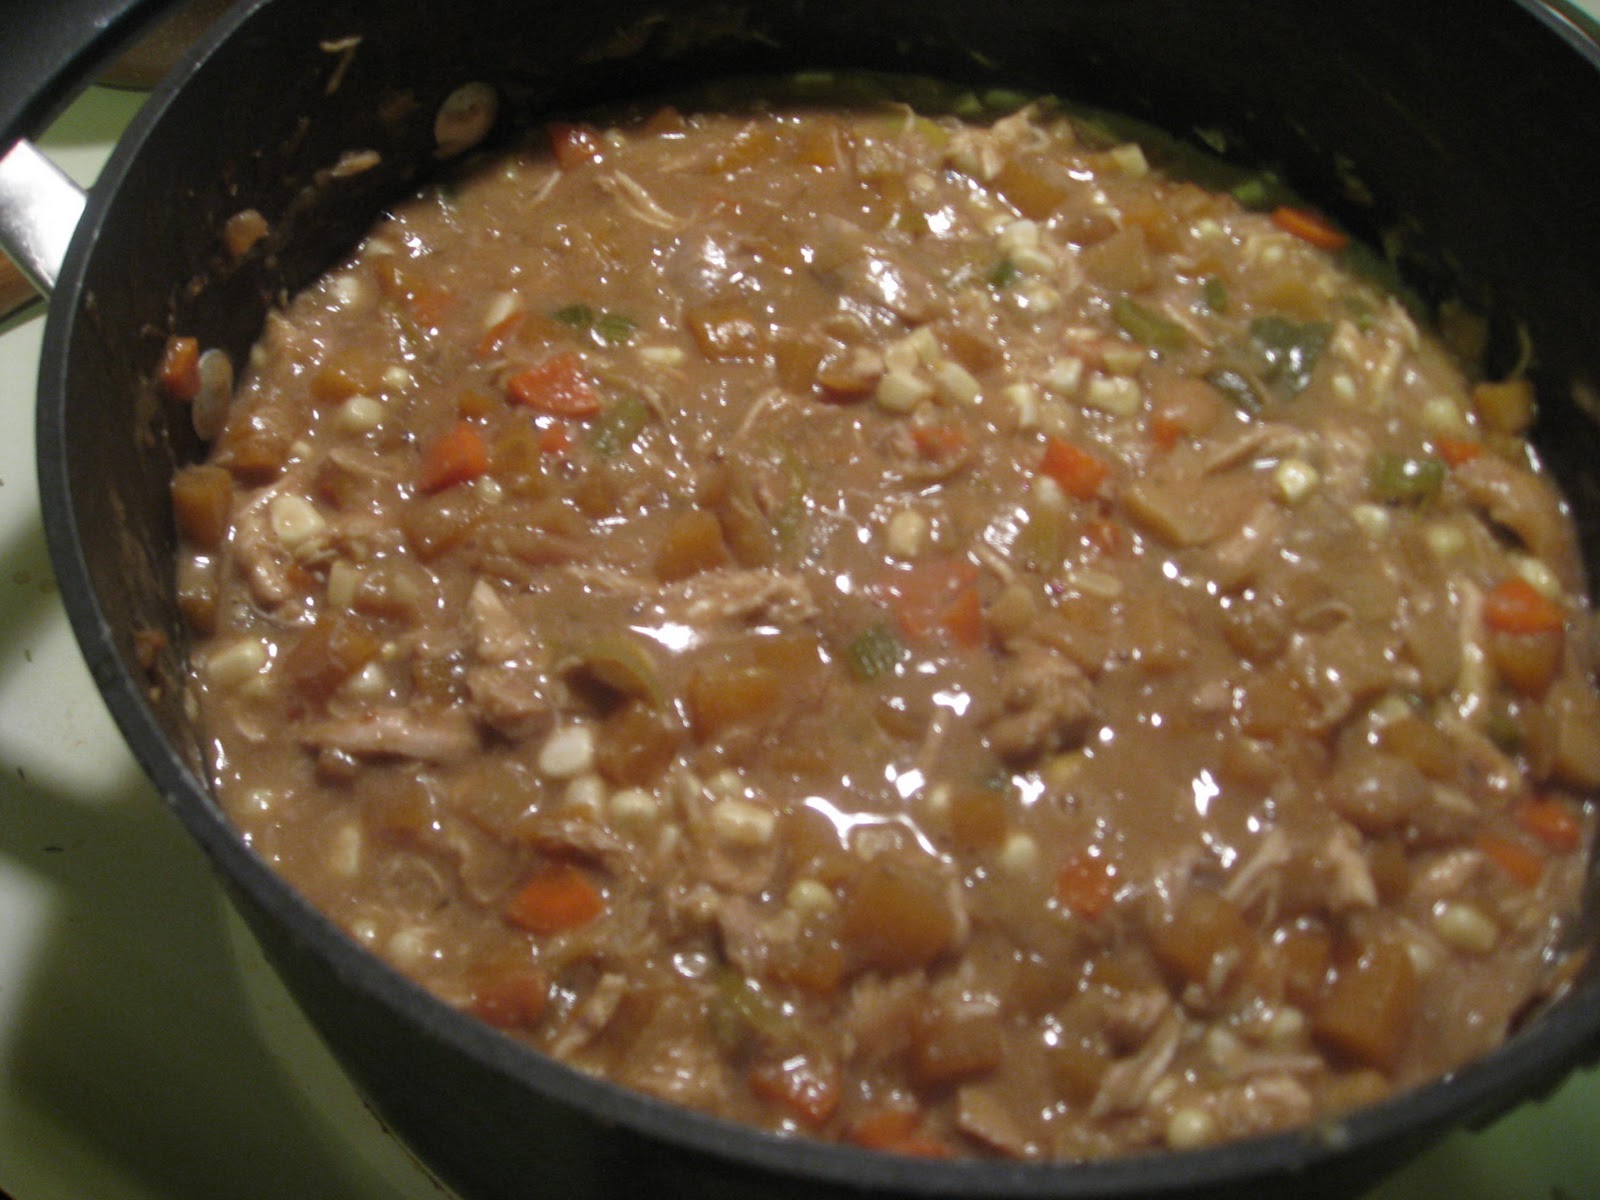
3. Increase heat to medium high and gradually stir in boiled root vegetables plus cooking liquid. Simmer, stirring frequently for 15 to 20 minutes. If you choose to, add chicken after about 10 minutes.
4. Add corn and milk and continue simmering for 5 minutes.
5. Remove and discard bay leaf. Enjoy!
Of course, any decent stew deserves good bread and good beer to go with it. I recommend Guinness Extra Stout as you already have to purchase the beer to make the stew. But if you want to step it up a notch, we made Irish Car Bombs. All you need a bottle of Guinness, a shot of Bailey's Irish Cream and a shot of Jameson's Whiskey. Pour the beer into a pint glass and serve with the two shots in individual shot glasses. When it's time to drink, pour the two shots into the beer and drink as quickly as you can! I'd always been turned off by the curdling of the Irish Cream in this drink, but it actually tastes really good, and it's a fun take on shots with friends.
As for bread, any hardy wheat or rye will do. I had just gotten some rye flour from Sylvan Falls Mill at Athens Locally Grown, so I wanted to make a loaf to incorporate this. I ended up making the following peasant bread.
Peasant Bread
3 cups lukewarm water
1 1⁄2 Tbsp. dry active yeast
1 1⁄2 Tbsp. Kosher salt
1⁄2 cup rye flour
1⁄2 cup whole wheat flour
5 1⁄2 cups unbleached all purpose flour
Cornmeal for dusting the peel
Instructions
1.Mix yeast and salt with water in a large bowl. Let proof for about 10 minutes. Mix in the remaining dry ingredients without kneading. You may have to use your hands to get the last bit of flour mixed in. Cover and allow to rest at room temperature until the dough rises, about 2 hours. Can be stored up to 14 days in the refrigerator.
2. Dust the surface of the dough with flour and cut off a piece about the size of a grapefruit. Dust with more flour and quickly shape it into a ball by stretching the surface of the dough around to the bottom on all four sides, rotating the ball a quarter turn as you go. Allow to rest and rise on a cornmeal-covered surface for 40 minutes.
3. Preheat the oven to 450°F, with a baking stone placed on the middle rack. Place an empty broiler tray or a baking tray if it's all you have on the shelf below.
4. After 40 minutes, sprinkle the loaf liberally with flour and slash a cross on the top. Slide the loaf directly onto the hot stone. Pour 1 cup of hot tap water into the broiler tray and quickly close the oven door. Bake for about 35 minutes or until the top crust is deeply browned and very firm. Smaller or larger loaves will require adjustments in baking time.


 I've been reading about companion planning for a long time now, so I've been using that philosophy to guide my planting. Louise Riotte's book Tomatoes Love Carrots is excellent. I even wrote a children's book using her principles for a class project last semester where the main character, a little boy named Max Marigold, learns to like vegetables as he learns how they help each other grow strong and tasty. I'll try to upload it soon.